Have you ever wondered how gig venues seem to know how to efficiently set up every instrument and equipment when the band arrives? This is thanks to a Tech Rider.
What is a Tech Rider?
A Tech Rider is a piece of paper that documents all the equipment, logistics, and coordination needed to ensure the show works. Information on a Tech Rider can include:
- Your band’s equipment and instruments
- Equipment your band needs from the venue/soundman (Backline)
- Channel List
- Stage Layout
- Any additional information
This document is an industry-standard and prepared before any event that has an external party handling your band’s performance, including sound and lighting.
A Tech Rider’s formatting and information provided can change depending on the gig. Here are some scenarios:
- Your band is the only one performing, so you can submit a comprehensive Tech Rider with plenty of details.
- Several bands performing, so you only have to send enough information and can leave out things such as a Channel List.
- Your band has a very unique setup and requires more intricate patching, therefore you will send a detailed Tech Rider.
- The venue has a fixed soundboard and signal flow, therefore you don’t need to provide too many details.
Example Tech Rider
Many bands have made their Tech Riders available for the public to view and you can easily find them online. A good example of a Tech Rider can be found here.
Why do you need a Tech Rider?
Tech Riders are submitted to the venue way before the execution of your performance, allowing all technical parties involved (sound, lights, crew) to plan ahead and have a seamless setup.
When you need to coordinate what equipment, where to place equipment, and how to connect them all so that your Rock tunes can come alive, a Tech Rider can really ease the process.
Moreover, it helps to prevent hiccups such as missing cables and equipment which may hinder the progress of the setup, potentially jeopardizing the show.
What is on a Tech Rider?
The information communicated over the Tech rider should be concise yet detailed enough so that everything that should be accounted for is shown.
Your band’s equipment
This is an extensive list of equipment your band may bring to the show. This includes:
Drummer – Personal drums and cymbals, drumsticks, stool, or even the whole drumset.
Bassist/Guitarist – Guitar, pedals, audio cables
Keyboardist – Keyboard, sustain pedal, power adapter, audio cables, keyboard stand
Vocals – Personal microphone, audio cables, effects board
Miscellaneous – External soundboard, in-ear monitors (IEMs)
Be sure to make the list as detailed as possible. For example, if you have 2 keyboards, you should clearly state the 2 keyboards and their models.
Backline
Backline is the equipment you need from the venue. These items are either difficult to bring around or commonly provided by venues.
Drummer – Drumset, drum throne, drumsticks
Bassist/Guitarist – Amplifier, audio cables, DI box
Keyboardist – Keyboard (usually 88-key), sustain pedal, keyboard stand, audio cables, DI box
Vocals – Microphone
Miscellaneous – Monitors, IEMs
Channel List
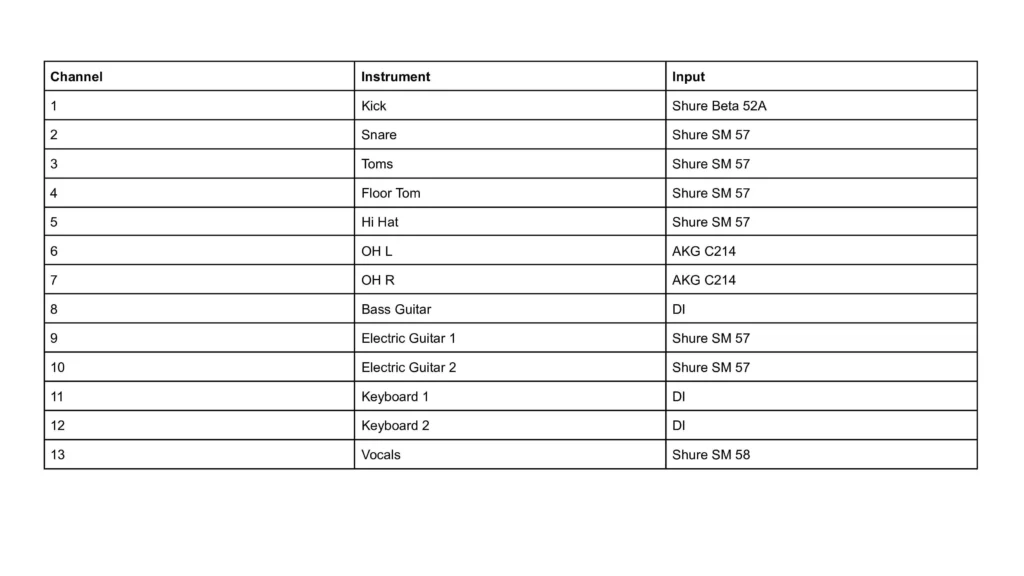
A channel list details the way your band’s instrument signals are set up.
It is usually provided by bands that supply their own instruments and take care of their own patching. They require the soundman to know exactly how many channels are needed and what each channel receives to realize their sound properly.
This means penning down every drum mic, instrument signal, sound effects, and microphone.
Stage Layout
The stage layout is a diagram that shows where each band member will be positioned on stage.
Stage layouts allow the venue to align the stage’s size with the band’s vision of how they will look on stage.
The sound technician can plan where to pre-set their equipment for each instrument like amplifiers and keyboard stands. This will then lead to good cable management and allow for easy tracing of signal flow, making their lives easier.
The lights technician will have an even easier job approximating their stage lights to make your band look a million times better.
How to create a Tech Rider?
Software such as Stage Plot Guru and Tecrider can help you create a professional-looking Tech Rider.
However, the easiest way to create a Tech Rider is still using Microsoft Word and PowerPoint. Even better, you can use Google Docs and Google Slides as a free alternative if you don’t have Microsoft Office
Having a template that you can easily fall back on for every gig is a great way to send a quick document to the soundman and get the ball rolling.
Here are the steps to create a simple Tech Rider. I will be using Google Docs in this example.
Step #1: Equipment Table
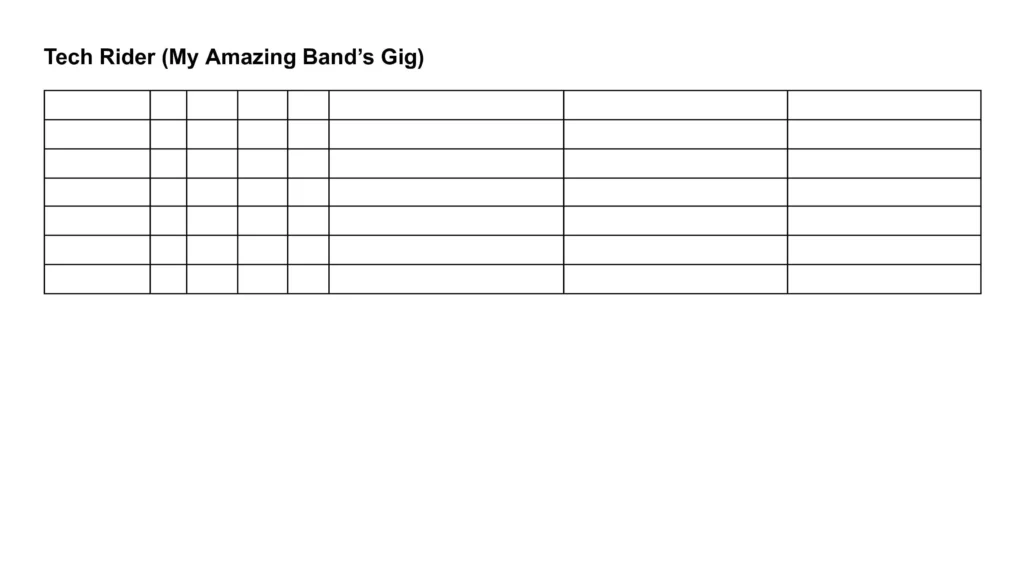
Add a clear label and Create an 8×7 Table
Add the following Headers:
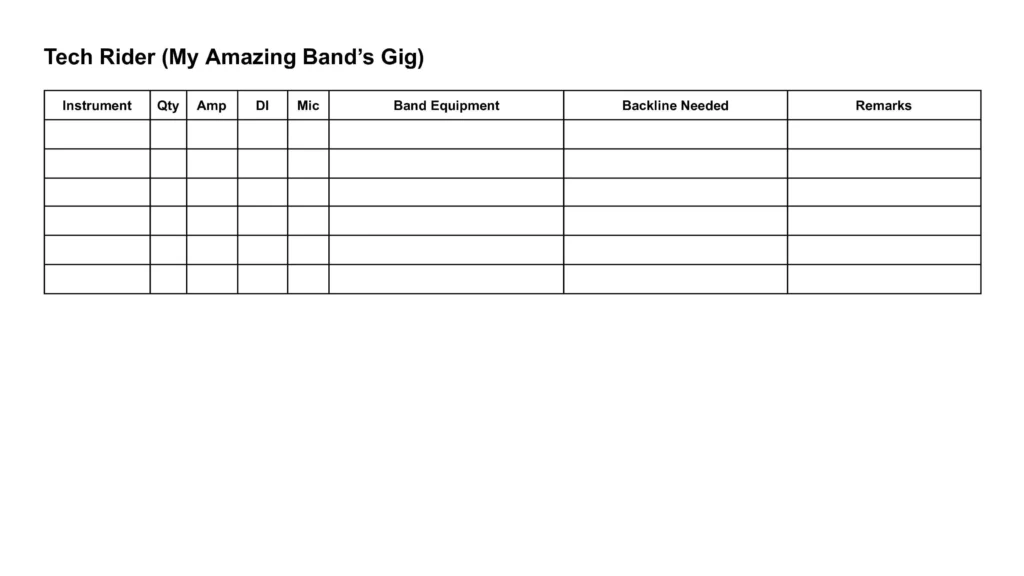
Instrument – The instruments that will be present during the performance
Qty – Quantity of each instrument
Amplifier (Amp) – Usually applies to Electric and Bass Guitars. Amplifiers are also often captured through a microphone.
Direct Input (DI) – The instrument will be captured through an instrument cable and DI box.
Microphone (Mic) – Usually applies to Vocals and Guitars. Captured using a microphone.
Band Equipment – Equipment that will be provided by your band.
Backline Needed – Equipment that you need the venue to provide.
Remarks – Any other additional information.
Fill up the instruments
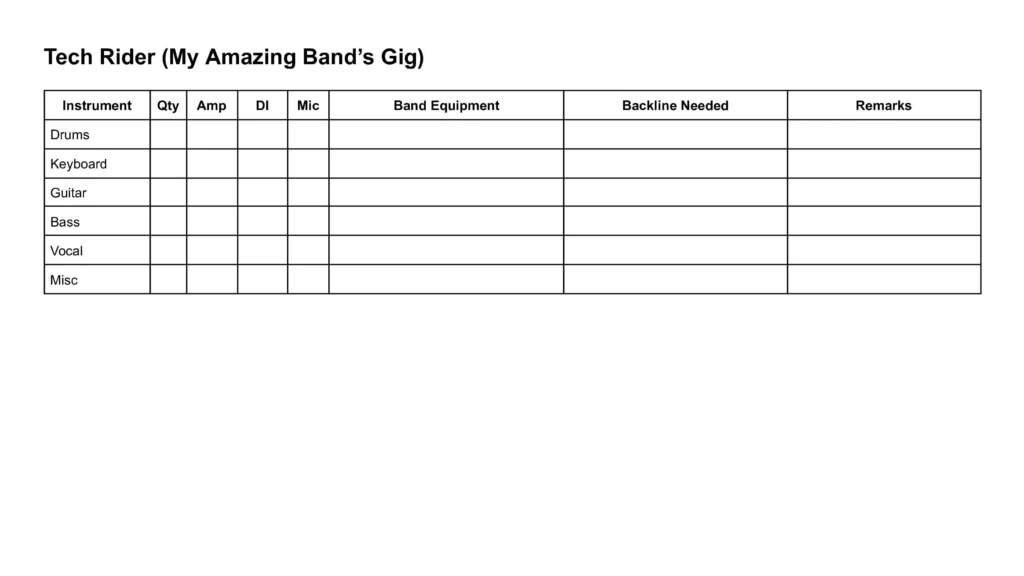
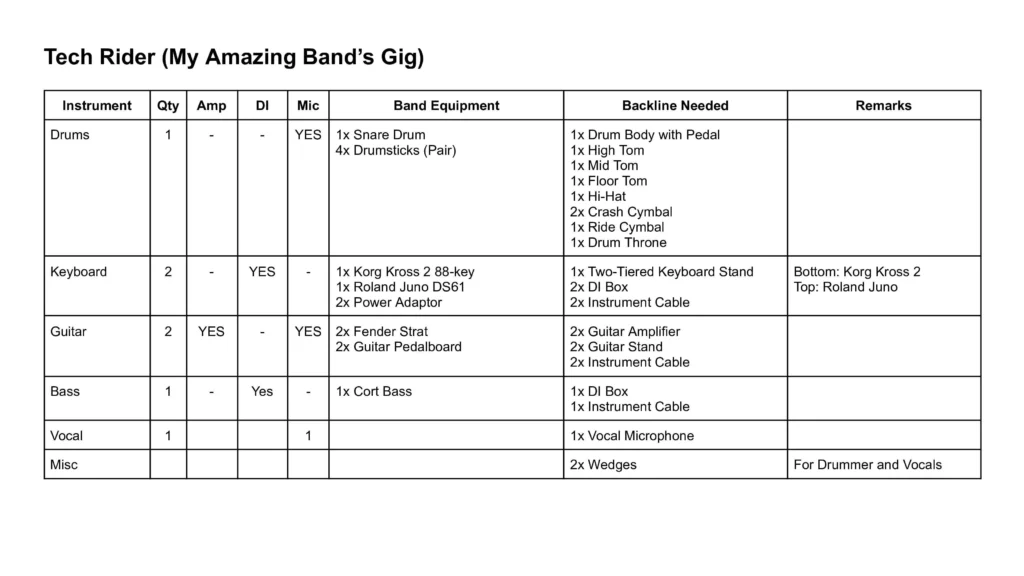
Fill up the details accordingly
Be as comprehensive as you can so that the soundman and crew know what they are working with.
Step #2: Channel Inputs
Channel inputs are usually provided by bands with specified signal requirements and must provide a comprehensive list of channels to the soundman.
If that is you, this is how you create a Channel List:
Create a table with 3 columns
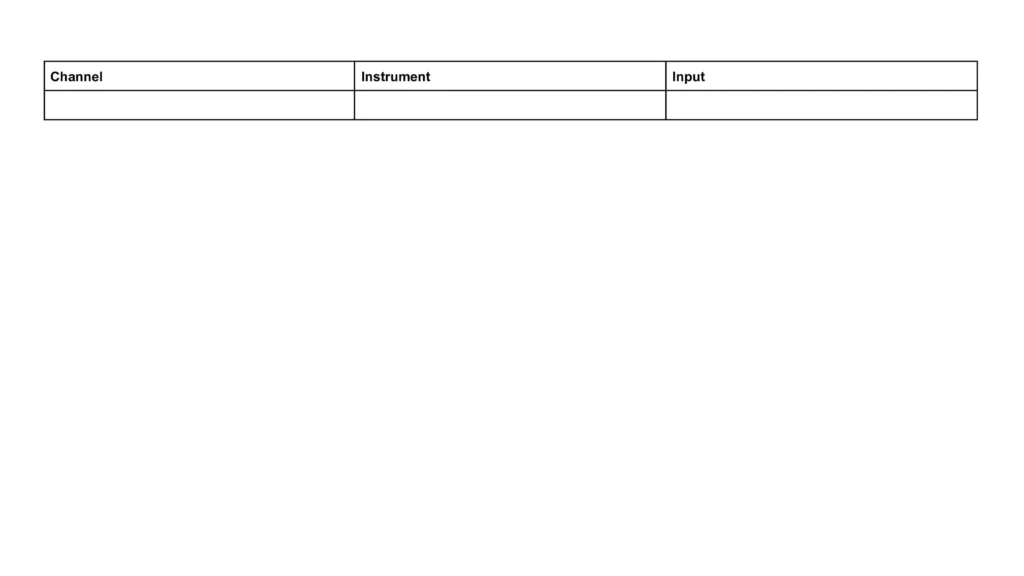
Add the following Headers:
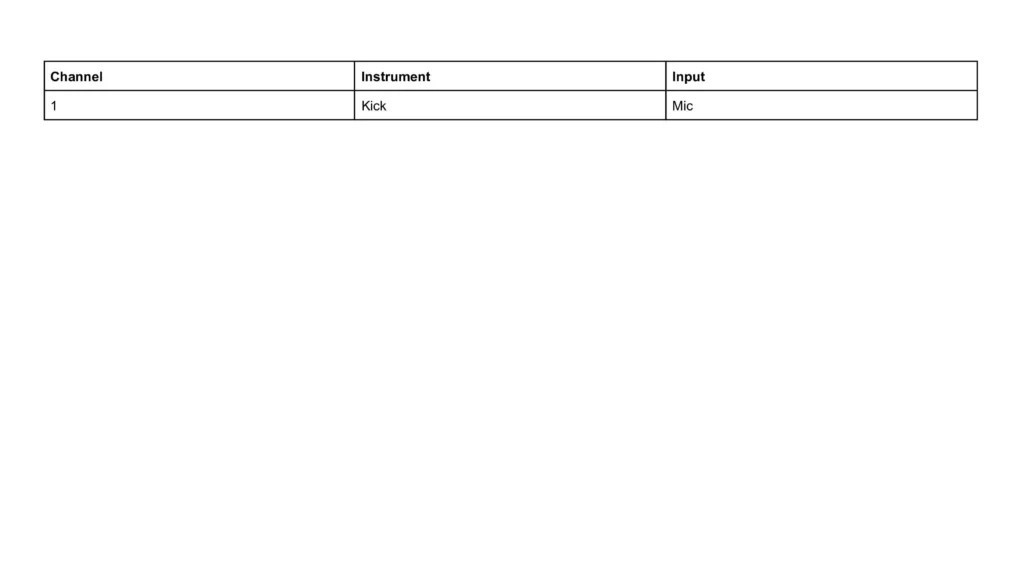
Start with the first entry
Channel – The channel strip to which the instrument will be connected. Usually in chronological order.
Instrument – The instrument that will be connected.
Input – The type of input that the connection will use. There are usually 3 types: Mic, DI, and Direct.
- Mic: Sound is captured through a Microphone. Specify which mic is used.
- DI: Sound is captured through a DI box. It will convert an unbalanced signal to a balanced one, removing unwanted noise and allowing the signal to travel long distances without losing its quality.
- Direct: In some cases, instruments are directly connected to the soundboard.
Fill up the table in chronological order of channels
Step #3: Stage Layout
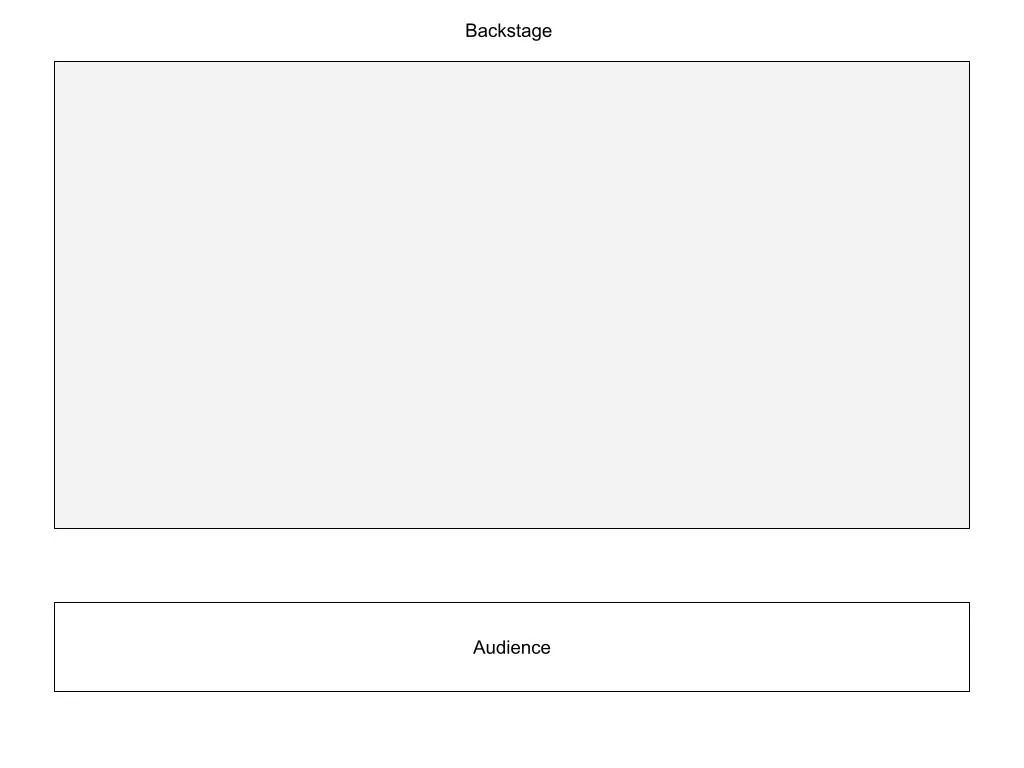
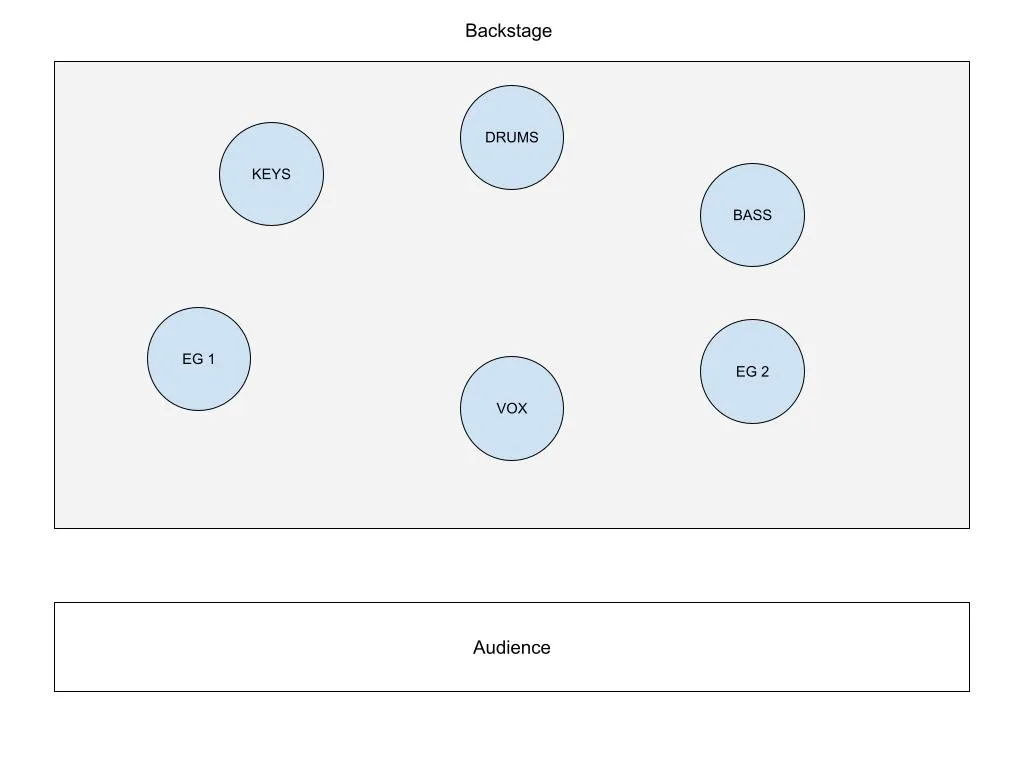
The stage layout will show the plot of the stage, where the musicians will stand, and where the equipment will be placed.
Start with the stage and add information to orientate it.
Indicate where the band members will be positioned
Indicate where the equipment will be
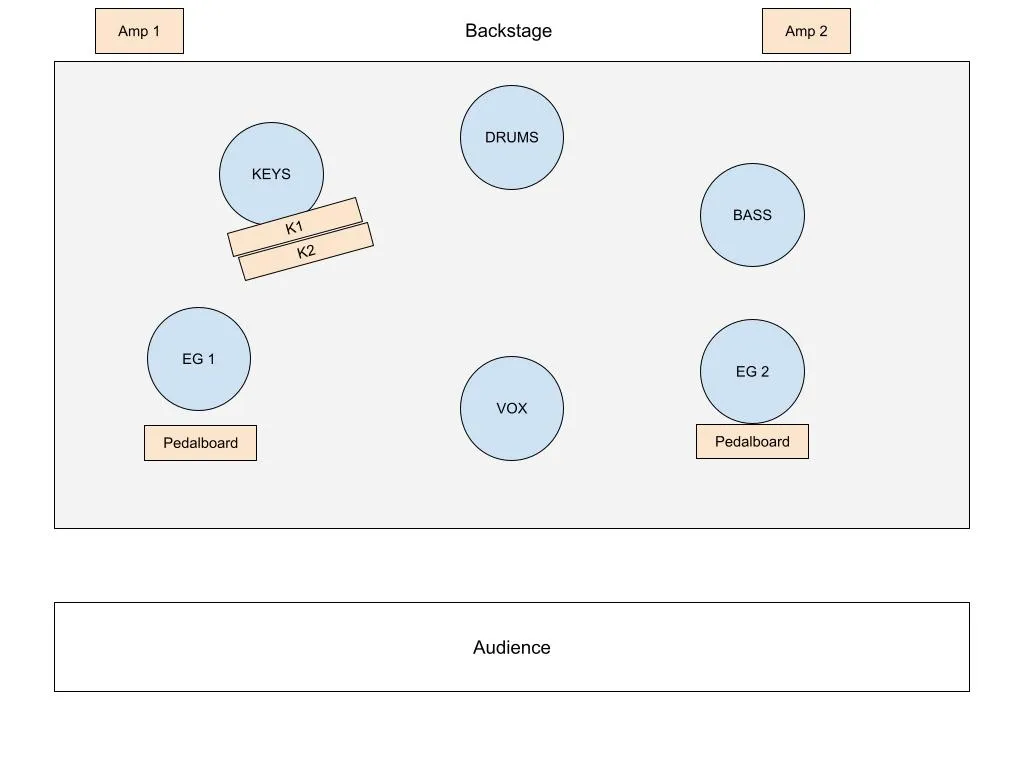
Be as detailed as possible with what equipment should be present and where you need them to be placed. This applies to both the band’s equipment and the backline provided.
Indicate the input for the respective instruments
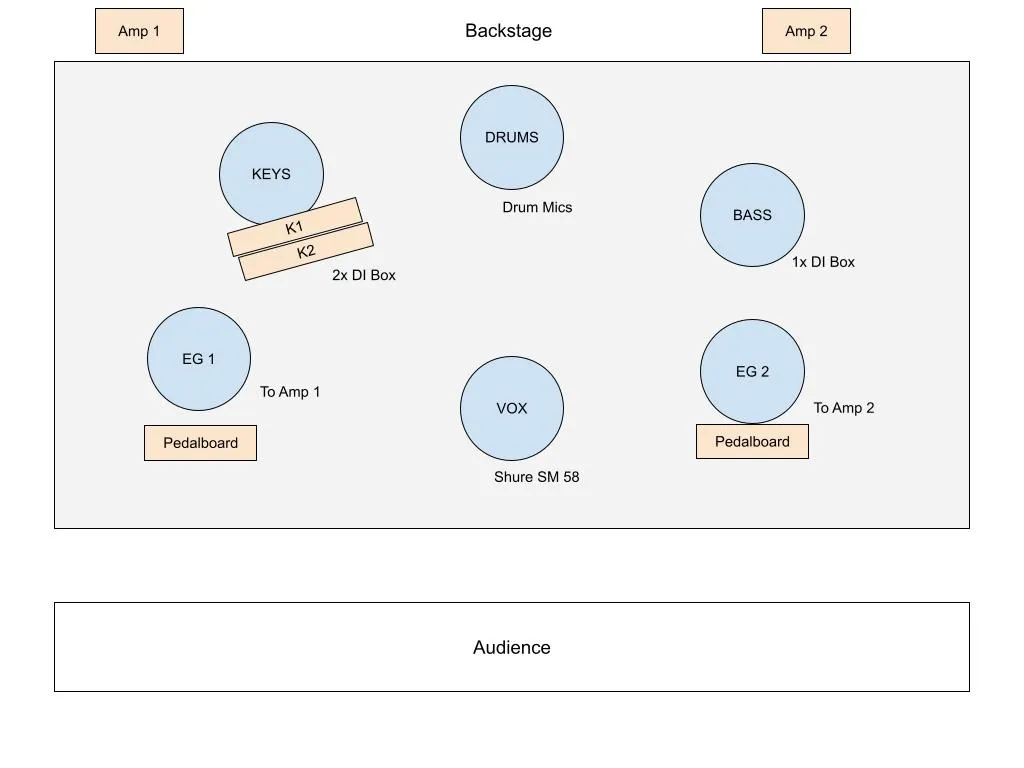
This will allow the crew to pre-set the DI boxes and cables, plan ahead, and ensure proper cable management and signal flow.
A Complete Tech Rider
There you have it! A simple Tech Rider and you can find it here:
Free Template!
Along with the sample PDF provided above, I would also like to share a template that you can use for your future gigs.
Conclusion
Tech Riders are powerful tools for a coordinated performance. When used accurately, all parties involved can prepare accordingly, leading to a smooth setup.
Not all Tech Riders are the same. Depending on the scale of the performance, a Tech Rider can vary from a simple one to a very comprehensive one.
Regardless, once you have mastered the ropes of creating a Tech Rider, be sure to make a template so that you can reuse them many times!
