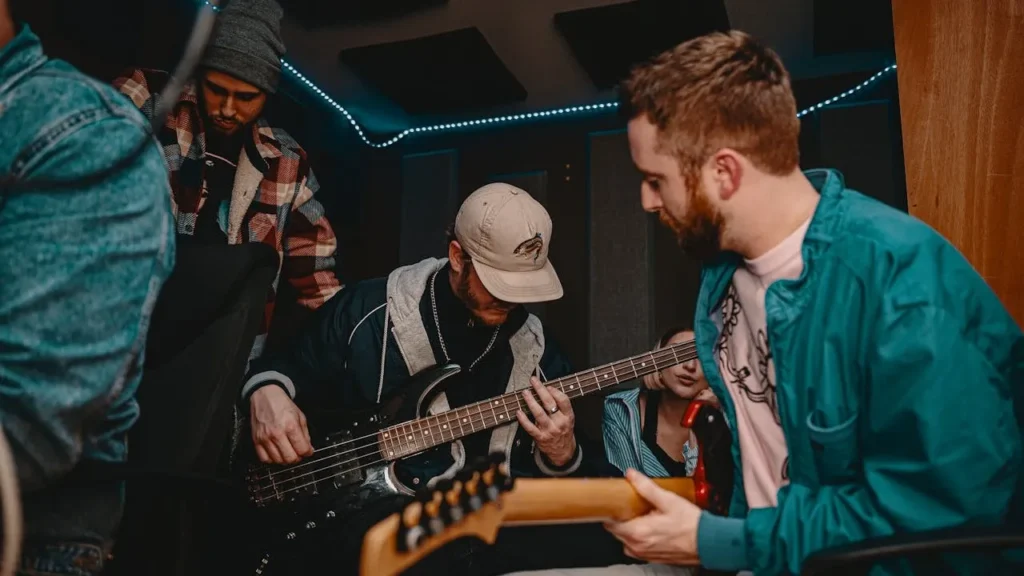
Stepping into your first jamming session can be very intimidating. Who are these people? Can I play the music? Will I be able to keep up with the others?
What do I even do?
Worry not, every musician will face this hurdle when they start to jam with others for the first few times.
This post will walk you through the steps to conquer your first and subsequent jamming sessions.
Planned vs Improvised Jamming
Before we begin, you will face 2 broad types of jamming sessions: Planned and Improvised.
Planned Jamming
Planned sessions usually tackle established songs, and give you the information you need BEFORE the session. Information can include:
- Songs to play
- Keys of Songs
- Song Structure
- Specific Arrangements
In this post, we will mainly discuss preparing for these sessions.
Improvised Jamming
On the other hand, Improvisation sessions will throw you into the session with nothing planned. You can only rely on strong musical knowledge, a good sense of musicality, and apt communication between band members.
The best course of action to prepare for these sessions is to increase your music theory knowledge and polish up your technical skills.
Preparing for a Planned Jamming

Plan ahead of time
The more time you have to prepare actively, the more you will be prepared.
Start formulating a game plan the moment you or your band member set your sights on a particular gig. Good communication is at the heart of a well-prepared band.
Anyone can initiate a discussion. Capitalize on whatever time you have leading towards the performance.
Appoint a Band Leader
An important step. The team needs a direction, lest they proceed without a final goal.
It is common practice for the person who seeks out the band to be the Band Leader, liaise with the venue, and receive relevant information about the gig.
The Band Leader is also usually the most experienced and knowledgeable in music and arrangement, allowing them to lead the band musically and decide what to do.
Get the information you need
It is essential to settle on the most important information during the planning stages of your jamming session.
Online group chat

Create a group chat as soon as possible and start the ball rolling. With many communication applications such as WhatsApp, Telegram, and Discord, you have a lot of ways to throw in ideas.
Songs to perform
The most important thing every band member needs to know is what songs to practice. Getting this information wrong can cause backlash, wasting time and effort.
A great tip: Prepare contingencies!
Even if the band is dead set on rehearsing specific songs, it is a good idea to add
2 or 3 more potential options in case the chosen songs do not fall through.
Straight Cover VS Live Music Arrangement
*Bruno Mars Recorded vs Live
Deciding what song to perform is not enough; There has to be a consensus on whether the band will tackle the song as a straight cover or a live arrangement.
More often, bands choose a straight cover as it is the most straightforward to practise. Experienced bands may explore live arrangements that cater to a live crowd.
Both approaches have pros and cons, as discussed in this post.
Key of the Song
You don’t want to be in a situation where you have practiced the song in one key and the band decides to change keys on the day of rehearsals. It is a waste of time and effort.
Knowing the key of the songs beforehand helps you practise the right content and build the necessary muscle memory.
How to decide the song’s key?
- Have the singer sing the song in the original key
- Listen for straining in the singer’s lower/higher ranges
- If the singer struggles in the:
- Lower range: Raise the key
- Higher range: Lower the key
- Depending on how far the highest/lowest is from the singer’s range
- Far: Adjust by 5 or more semitones
- Near: Adjust by 1 or 2 semitones
- Check that the singer can sing the highest and lowest notes in the song
- If their range is too small, look for workarounds (eg. altering the melody)
- If their range is large, explore pushing the key higher until the singer is right below their limit (the highest note should be stable, comfortable, and strong)
Analyze Songs
Now that we are made aware of the songs and their keys, the rest of the information we need is in the songs themselves, whether through
- Original recording if you are doing a straight cover, OR
- Materials prepared by the Band Leader if you are doing a live arrangement
Song Structure
The chronological order of the segments. Song structure is usually broken down and classified using specific terms. Here are the common segments you will encounter:
Intro – The start of the song. It usually begins with a riff, musical idea, instrumentation, or vocals.
Verse – The storytelling portion, where the composer lays out the setting and background information. It is usually lower in energy, compared to the song’s climax.
Pre-Chorus – The build-up to the climax. Here, dynamics slowly rise, chord progressions may change, and groove starts to pick up.
Chorus – The climax, where the main theme and ideas are emphasized. The music is usually at its peak here.
Post-Chorus – A short rest after the climax and decelerates the music. It is usually done with instrumentals and, sometimes, with vocals.
Vamp – A segment where a musical idea is repeated.
Bridge – The turnaround in the song, where there is a drastic change in music and themes. The bridge tends to sound different from the rest of the song to have a change in pace.
Solo – A virtuosic segment given to a specific instrument to show off. Some solos are iconic, from songs such as ‘Wake Me Up When September Ends’ by Green Day or “Sweet Child O’ Mine’ by Guns N’ Roses. Most of the time, solos are improvised spontaneously.
Breakdown – A drastically different segment of the song that takes ideas from the song and builds on them. Breakdowns usually showcase the instrument section or the singer.
Outro – The last segment of the song before the end. It usually occurs after the chorus.
Once the band has decided on the song, listen to it through and note down its flow using the terms above. Here is a quick example:
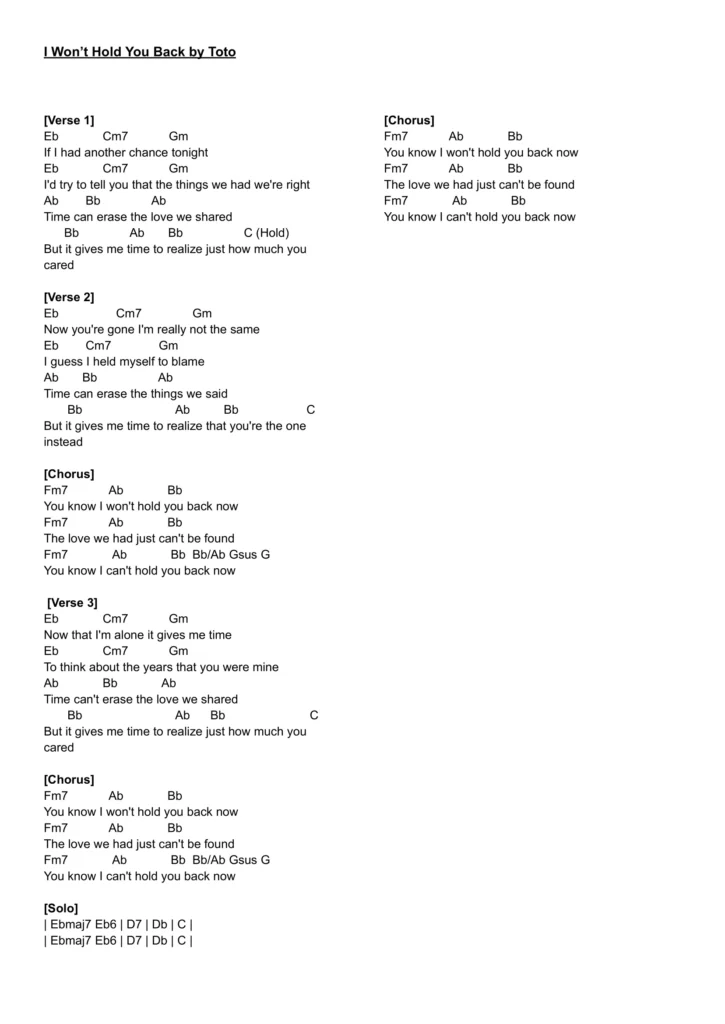
Chord Progression
Chords are the meat and potatoes of instruments. All instrumentalists must agree and be in sync about the chord progression.
Many online resources can provide you with ready-made chord sheets for songs, the most well-known being Ultimate Guitar.
Here is a starter guide to chords.
A good way to get the chord progressions into your system is to work on them by segments. Breaking the song down by its structure will make the chords easier to digest.
If you are working on a re-arrangement, the Band Leader should provide the adjusted chord progressions so everyone knows the changes.
Lyrics
For the singers, the lyrics are your bread and butter. It is therefore your job to study the melodic contour of the song and commit the words to memory.
Elements you should note include the pitches, phrasing of words, the rhythm of the syllables, and embellishments.
As the (often) frontman of the band, you represent most of the band’s image and leave the biggest impression on the audience. You will not want to trip up on the lyrics while performing for a huge crowd.
Parts that highlight your instrument
If the song starts with a guitar solo and you are the guitarist, you are responsible for nailing that portion.
This is especially so when the band does a straight cover of the song. Many songs have iconic riffs and segments, such as the keyboard intro to ‘I Won’t Hold You Back” by Toto or the drums intro to ‘Valerie’ by Amy Winehouse.
When analyzing songs, you must pick out the parts you are responsible for. Practice as much as possible so that you can execute them with ease during the performance.
Prepare your parts
Now that we understand what we need to play, let’s set ourselves up for success.
Sound
Guitar Pedalboard

Effect pedals are physical boxes designed to alter the signal coming out of a guitar, with effects ranging from distortion, reverb, crunch, delay, and many more.
*Image of pedal
Guitarists commonly work with more than 1 pedal, connecting different pedals and toggling the pedals on/off as required. A board, called a Pedalboard, is used to hold them together.
It is good to plan which pedals you will use and practice toggling between them. If you have a guitar tech during your performance, let them know which pedals are required for which segment of the song for a smooth transition.
Patches
Patches are presets that recreate a specific sound. It originates from the earlier days when physical cables (known as ‘patch cables’) would patch/connect one module to another.
Patches apply to instruments and devices that allow for presets. This includes keyboards and electronic guitar pedalboards.
*image of patches
If your instrument can create patches, it will help to optimize your workflow when playing songs. The tip is to create presets and place them in chronological order. This way, you will only need to hit 1 button while going through your performance.
Instrument-Specific Segments
As mentioned above, there will segments in the song where your instrument is highlighted. How should you prepare for this segment?
By relying on your ears, visual tutorials like YouTube, or scoresheets.
With the internet, many online resources have already recreated popular songs as educational material for the rest. A quick search on Google like ‘wonderwall guitar intro tutorial’ will bring hundreds of videos and guitar tabs relating to the song.
And once you have picked your guide, use it to practice.
Reference Material
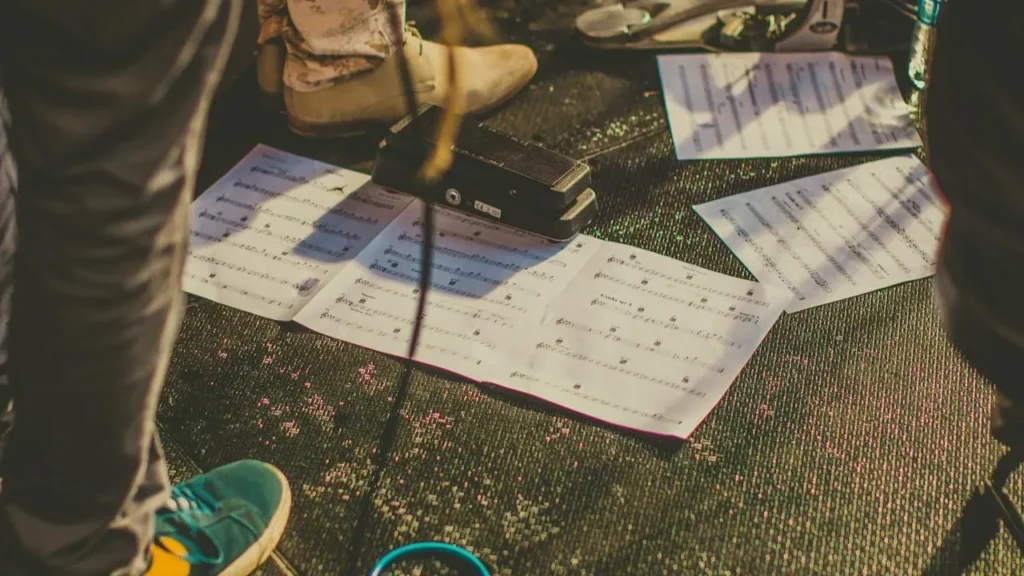
Some gigs allow musicians to refer to materials on stage like lyrics, chord sheets, and scoresheets.
If so, do not hesitate to transcribe the songs into writing and print them. Better still, musicians nowadays use tablets and iPads to refer to their material. Benefits include:
- Portability
- Ease of use
- Convenient place to store all required materials
- Large enough screen to see
Practise, Practise, Practise
The importance of self-practice cannot be overstated. Jamming sessions should not be spent learning your parts but collaborating with your band members.
Allocate time
Everyone has their schedule to follow. Once you have committed to a gig with others, however, that gig becomes a priority and should be considered part of your routine, just like meals and exercise sessions.
This means allocating time at night after your day job to analyze songs, set up patches, and practice your parts. Failure to do so can result in slower progression and a hindrance to the rest of the band members.
Advantages of Music Theory
If you are equipped with a good understanding of music theory, it can help to propel your practice sessions forward exponentially. Examples include being able to:
- Read chords and play them instantly without having to think about what notes to hit
- Figure out the chord progression with Relative Pitch without having to look for references
- Assess the rhythm and enhance it by comping appropriately
Music theory helps you skip steps, close your gaps of understanding, and bring you closer to nailing your parts. It is therefore crucial to understand concepts to speed up your game.
Pre-Jamming
Overview of Music venues
Most jamming sessions take place in a music studio. These locations are usually equipped with:
- Amplifiers (Guitar, Bass, Keyboard)
- Audio Mixer
- Instrument stands
- Music Stands
- Microphone Stands
- Microphone
- Drumset
- Keyboard (88-key)
These equipment are provided as musicians don’t commonly bring them. Before entering the venue, check with your team or the establishment on what the venue has.
What should you bring?
Drummer
- Drumsticks
- Drum Key
- Personal Snare Drum (Optional)
- Personal Cymbals (Optional)
Bassist/Guitarist
- Bass/Acoustic/Electric Guitar
- Pedalboard (Optional)
- 1/4 inch Cable
- Pick
- Tuner
- Extra Strings
Keyboardist
- Keyboard
- Sustain Pedal
- 1/4 Inch Cable
Vocalist
- Microphone (Optional)
All
- Reference Material
Stepping into a jamming session

Prepare your instrument
Take position where your instrument should be.
Drummer – Adjust the kit so that you are comfortable playing all drums and cymbals. Set up your personal snare drum and cymbals if you have them. Adjust the kick pedal and other drums with a drum key if necessary. Prepare your drumsticks.
Bassist – The bass amp is your best friend. Connect your Bass guitar to the amplifier using your 1/4 inch cable. Adjust the volume until it is loud enough but not overpowering the rest. Tune.
Guitarist – Head over to the guitar amplifier. Connect your pedalboard to the amplifier if you have and leave the amplifier on clean (no gain/distortion). Then connect your guitar to your pedalboard. Toggle the pedals for the first song. Tune.
If you have no pedalboard, connect your guitar directly to the amplifier and adjust the settings as required for the first song. Tune.
Keyboardist – Set your keyboard (if you have one) on the keyboard stands. Connect the keyboard to the amplifier and sustain pedal to the keyboard. Prepare your patches and banks for the first song.
Prepare your reference material
Set up music stands close to your position to see your reference material easily. You can then place your reference materials on them and stand by for the first song.
As mentioned, reference materials can be physical paper copies or a tablet/iPad. Singers may use their phones to refer to lyrics as well.
Trust the process
If your band has properly planned, communicated, and practised individually, the start of the song is the only thing stopping them from executing. Once the intro is underway, the rest of the song is down to muscle memory.
Some musicians may be anxious about playing wrong, but the first step to overcome the music is to play your first note.
Trust the band
Playing in a band is not just an individual feat; it takes a group to pull it off together by playing what they need to.
Collaboration requires band members to communicate, which involves listening and speaking. But when the music is ongoing, ‘listening and speaking’ turns into ‘listening and playing’, and the music becomes the medium of exchanging ideas.
Eye Contact
An extra measure that the band should take is to look up and at each other. Eye contact is crucial in catching cues and non-verbal communication. Hand signs are also commonplace, so watch out for those.
Trust the Band Leader

With the Band Leader present, he will decide which songs to play, what parts of the segments to refine, what needs to be changed, and what is done well.
If you are new to jamming sessions, take heed from the Band Leader. He knows what he is doing (hopefully!).
Be open to changes
Music arrangements can happen on the fly and deviate from the straight cover quickly, so it is good to be mentally prepared for any changes.
Common changes that can occur are:
- Change of song’s key
- Adding/Removing riffs
- Alterations to song structure (eg. Different Intro/Outro)
- Adjusting segments to coordinate everyone better (eg. Changing drum fill)
When these happen, take it one step at a time.
Again, during these times, the ability to hone your instrument and rely on music theory will save you a lot of effort.
Conclusion
Congratulations! If you have made it this far, you have been equipped with the right knowledge to approach your first and subsequent jamming sessions.
Every musician has experienced their first jamming session – some good, others not so smoothly. In any case, take the first step and you will be able to coast your way through every jamming session you encounter.
